


|
How To Draw and Paint Drawgirl
|
 |
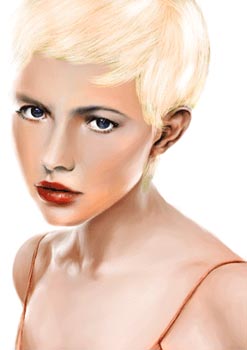 |
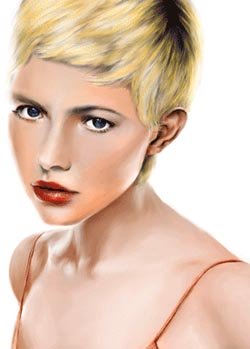
Whew! The artist managed to make the model's hair more believable by massing in broad white strokes here and there and there and here, and selectively softening the whole hair surface. The emphasis, the thicker strokes, are on the right side of her hair (from our vantage point) because the light is shinning from the left. That concept will become more evident in the following steps. This concludes the first of three phases using the exact same steps but repeated with different colors. First, there was this white phase just finished. Can you guess what the other two are? Well, since light and dark color layers have to alternate in the burnishing technique, and since the first phase was a light phase, then, next has to be a dark phase. What color will the pastellist use? Again, using logic, since this phase used white, then the next phase will probably use black. And, how about the final phase? What color will that be? Hmmmm! Since she is a blond, maybe the last phase will be... a yellow phase. HEL-L-O-O-O!!! You analyzed correctly. Now claim a cookie as your prize. Or would you prefer a gold star? I just laid out the rest of the pastel portrait painting process for you, so, now all you have to do is just follow along to watch the last two phases repeat the first phase step-by-step.
Your coloring process continues still in... Step 64.
![]()
![]()
![]()
![]()
![]()
Go To Step 64
Return to Drawgirl Tutorial Home Page
Return to Home Page
